Monday, December 27, 2010

Pillow pets, Mommy version

Well the month when I should of had the most to show you I haven't taken the time to post.  Lets do a little recap shall we?

For the little girls I made pillow pets.  Thinking they would be cheaper than purchasing (they were) and pretty simple (the pillow part was, the head? another story)

The bunny turned out really cute I think.  I used an embroidery design for the face and that is what made it turn out so cute.  
For the puppy I couldn't find a design so I had to come up with my own face.  I am not very good at this!

But it still got some loving!

I embroidered on the tags.  (the shinny stuff between the letters will come off)

Here is the tutorial I used.  Next time (if there is one, I think the puppy might just get a new head although KeyKey really wants a penguin.) I would adjust the pillow to be wider so it folds up to more of a standing animal. Our cousin go a genuine (but not as cute) pillow pet and it is more of a rectangle than a square.


I was going to make our cousin one too.  But went with an owl pillow instead.

Family Memory Game

My Mom loves games.  She always plays games with the kids when we go up to her house.  So when I saw this idea I knew I had to do it for her.
I started with a purchased memory game...I have been searching the thrift store for a month with no luck!  The game I purchased ended up not having one of those trays to hold the cards so I came up with my own box.


I took the cards and spay painted them.  First pink (because that is what I had, that or orange?) It didn't cover well so I spay them white.  Then for fun I went back over with a quick spotty pink job.  I like how it turned out.


I printed the pictures on sticker paper 2" X 2". It covered the cards perfectly. I sprayed the cards with a clear acrylic. This made the paper a little transparent. I would paint that side of the card first if I were to make this game again.


She will be here today so we will see if it is a hit or not!


Tuesday, December 14, 2010

Drowning in Fluff

Stuffing, Stuffing, Stuffing.  And not the yummy kind you get at Thanksgiving.

 
These are some fun orders I got for name pillows.


Friday, December 10, 2010

Car Wallets

Just some cute little wallets for the little guys.  I only had two at my show last Saturday and someone wanted one at the end of the day and they were sold.  So I finished the ones I started ohhh sooo long ago.


Ah, ha.  I can produce boy stuff!  Just not boys. hehehe

Friday, November 26, 2010

Happy Thanksgiving

I hope everyone had a great thanksgiving.  We certainly did.  Lots of food and lots of family.
I made Libby a quick outfit -altered RTW.  The design is from Planet Applique.  The wording I put together with fonts from 8 Paws and a Claw.


Turns out I don't have have a close up of this.  I forgot that my batteries died when I tried to take it and I just grabbed this snap shot Yesterday.    I'll try to find time to grab a new picture. (have to clean gravy off of it first)

Friday, November 19, 2010

Fabric Roses


So I am sitting here working on zipper flowers and my oldest dd says have you seen those flowers that look like they are wrapped around or something?

You mean like this one?


We have some? she asks.
Maybe these where what you were thinking of?


Yeah sort of but these that they were wearing were flatter.
Oh like this?


Yes mom, but they added that fabric type stuff with holes in it.

Silly girl!  Today I made this.


She was thrilled. Put it in her hair and ran to her friends house to show it off.

To make these roses there is a tutorial here and more here

Sunday, November 14, 2010

2!!

I don't know if I am excited or not. She is two! So much fun and crazy little laughs we glean out of our adorable two year old.


I purchased a sweater to make this darling little dress...forgive me I forgot where I got the idea from. I also added the button patch because I wanted something for today, but also wanted to keep wearing the dress without something on it.


There really isn't a wrinkle there. I just couldn't get her to stand still. She wants to see and play with the camera.


And just so you can see she is like most two year olds, here is our screamer...mad at me, she no longer will stand for a picture because I will not let her play with my camera. Boy this girl has some lungs!

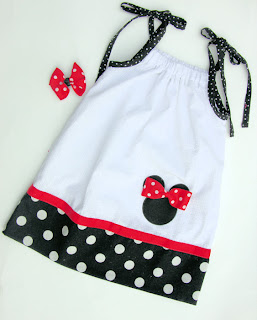
Minnie Dress Order

I made a little pillowcase dress for an order this week. Just thought I would take a picture and share. I just had to add the little bow, because I couldn't throw 6" of ribbon back in the drawer.

Thursday, November 11, 2010

Veteran's Day

The school is holding an assembly today.  The PTA is going to honor two teachers that have served.  I offered to make them some plaques.  The design is free from oddonesvk on SewForum.  I think they turned out nice.
Sorry it is late and so I had to take them with the house lights.  Like that little swoop on Mr. Schoonover's.  That is because I had put the next wording to low.  I like how it turned out.  I used leather from a skirt my SIL picked up at a garage sale and thought we could use.  It will be a cute short skirt now :)


Do you know a veteran. Please let them know we are thankful for their service! My Dad and Dad-in-law both served. Thank you!

Wednesday, November 10, 2010

Tooth Pillow

CeCe was invited to a birthday party. And what does every first grader need? Yes somewhere to put those lost teeth. CeCe picked the fabrics. She was very excited so I dared not change her mind. I tried to talk her into pulling her front tooth(which is hanging on by I don't know what)and making her a matching pillow. She didn't go for it.


Tuesday, November 9, 2010

Fall Dinner

Tonight is Relief Society Holiday Dinner.  I was to make the posters and invitations.  I learned a little more in corel draw while trying to make this.  My husband was kind enough to help me with a few steps.  I sent it to Costco to print 4x6 photos.
This is how it turned out:


Times 120


Monday, November 8, 2010

Lunch...a little late

What a crazy time...I haven't been here for so long.  I really meant to show you the lunch the next day.  I even took pictures the next day.  Boy how life sneaks up on me.

Well let's kill the suspense...


Cute hey?  Let's see what we packed.

Sandwich, Chips and cookies.
How cute is that "sandwich bag"? I sewed that up with thin plastic.


Yum my favorite Turkey with lettuce tomato and cheese.

Anyone care to join me?


Wednesday, October 27, 2010

Breakfast anyone?

I was busy all last week putting together some felt food for the craft sale last Saturday.  I think this is one of my favorite sets.  However, it did have a lot of hand sewing, which was not my favorite!


Tomorrow I will post Lunch!


Thursday, October 14, 2010

Made cookies today

Don't they look yummy?  These were so fun!  The girls couldn't wait to play with them. 
They said they need an oven mitt. 
I am making these for a craft show next week.  Maybe I will have to add one to the kit.


This frosting I just threw on really fast.  I think I will make some with sprinkles.

Sunday, October 10, 2010

Key Fobs

I am, as I may have mentioned before, PTA Membership VP (sounds cool, huh?) I took in a little incentive teachers survival kit that I was offering to every teacher that signed up to PTA.

They receive this cute little bundle of caffeine, chocolate and a personalized key fob?

Well I am disappointed to say that I did not get 100% of the teachers to sign up with such a great incentive of a handmade personalized key fob :(


Maybe when they see how cute they are the rest will change their minds

 Yes I know the M is off shhhh

If anyone is needing some key fob hardware...looks like I have extra!

Just for information sake this is how I made my fobs:
  1. cut my fabric 10"x3"
  2. layered the ribbon 1/2" from the top and embroidered the letter centered top to bottom at about 5/8" from the edge
  3. Fold the fabric right sides together and stitch down the 10" side 1/4" seam allowance
  4. Turn it right side out
  5. Cut a piece of peltex stabilizer with the double side adhesive 10" X 1 1/8"
  6. Stuff it into the tube (should slide right in, you can bend it in half and stuff it in then lay it back flat)
  7. Iron the stabilizer in place
  8. Top stitch down the sides
  9. fold  so the ends meet...here I got a little tip from where I purchased my key fobs run a little hot glue right at the end and it will hold the material in the keyfob without worrying of keeping everything straight while you do the pounding.
  10. Place key fob over the edge.
  11. Pound the key fob closed
  12. Your done!!

Friday, September 24, 2010

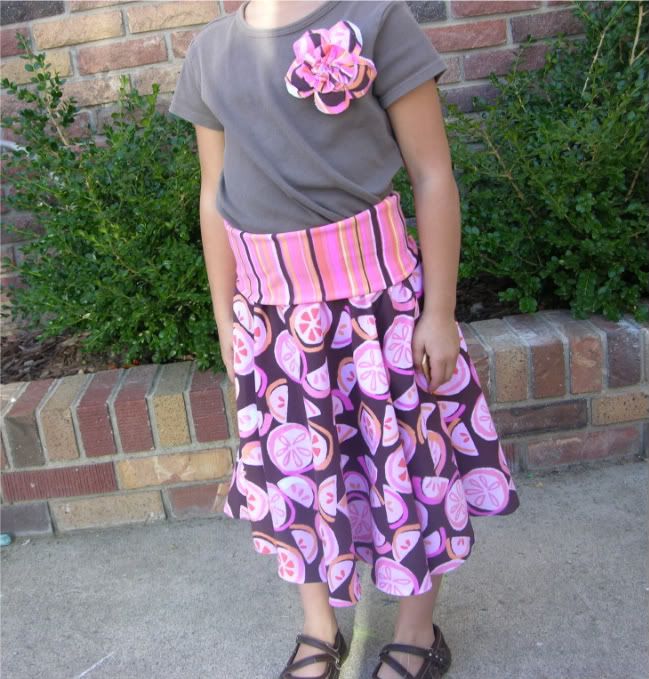
Twirl Skirt

This skirt was sooo easy. I cut the circle skirt using this tutorial that I have used before.  Added the really nice large waist band like I saw posted on a forum, this is actually folded in half.  I am sure she will probably never wear it unfolded like a dress, but it does give it extra tightness to keep it up.

Photobucket


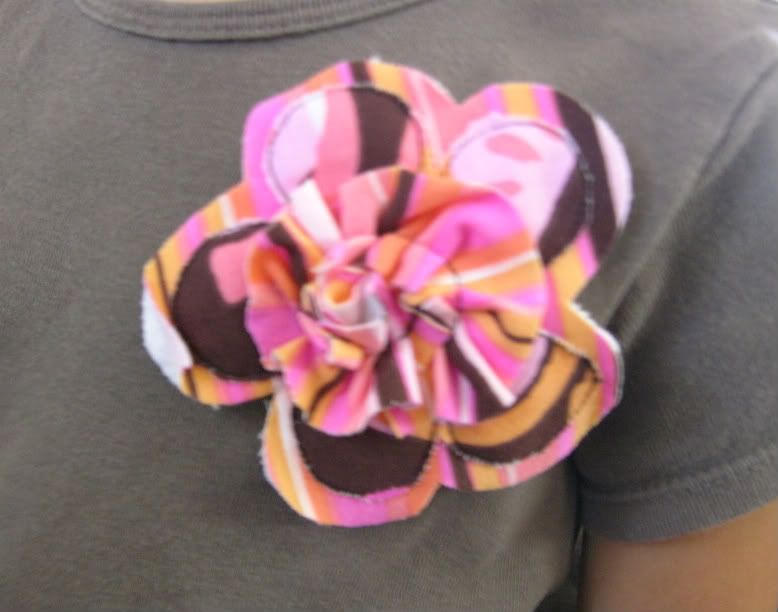
I also made her a flower broach with one layer of flannel and then the two knits layered. I sewed down a flower shape than cut it out about 3/8" away and then cut the top knit to the stitches showing the bottom knit.  Then I just wound up a strip and stitched it on for the center. (sorry it is blurry, I am going to blame that on the camera!)

Photobucket

Sunday, September 19, 2010

Daddy's Girl

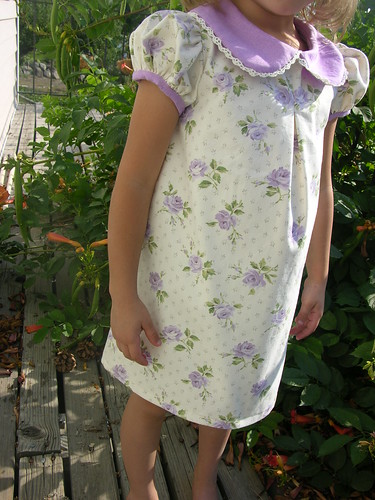
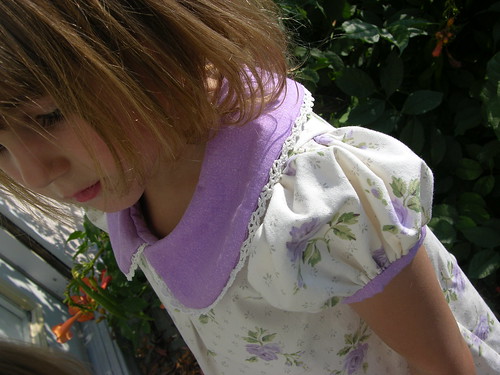
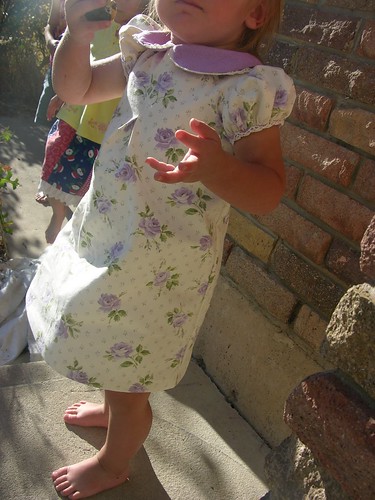
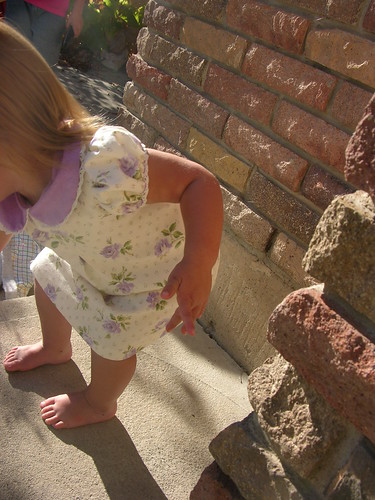
I have the privilege of test a pattern for a sweet lady that sales on line.  I made two dresses.  One for the baby and one for V

Daddy's Girl Size 5 #6

Daddy's Girl Size 5 #2

Libby's

Daddy's Girl #2
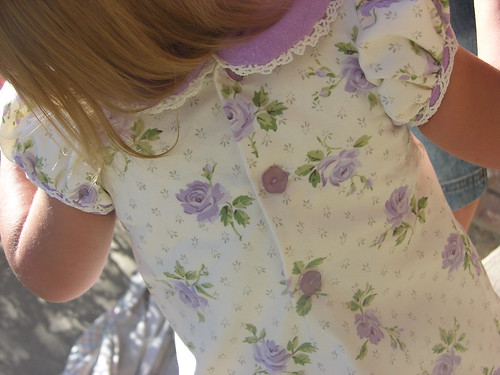
 Don't you just love the tatting?  That was in my stash!  Yeah!
And those buttons? Found them in the drawer. What a lucky day!
Daddy's Girl #4

Daddy's Girl #8

I really wanted a picture together maybe another day! They both were super cranky when they took photos.